Configuring TVS
Now that you’ve got TVS running, it’s time to make it your own! Everything in TVS can be set up in a YAML-based config file named 📄 config.tvs.yml, located in the root of your installation directory. This file tells TVS what channels to show, where to find your media, and how everything should look.
Conceptual overview
Section titled “Conceptual overview”Television Simulator simulates the following components of a traditional television experience:
-
TV Screen: we simulate a television screen with configurable aspect ratios and screen effects, such as CRT scanlines, picture noise, picture blur and shadow masks. Standard definition, high definition and custom resolutions can be set. The screen will automatically resize to fill available space in your browser window and works in full screen as well. All of these effects can be disabled or customized, and depending on the hardware you’re running TVS on you may want to disable some effects for better performance.
-
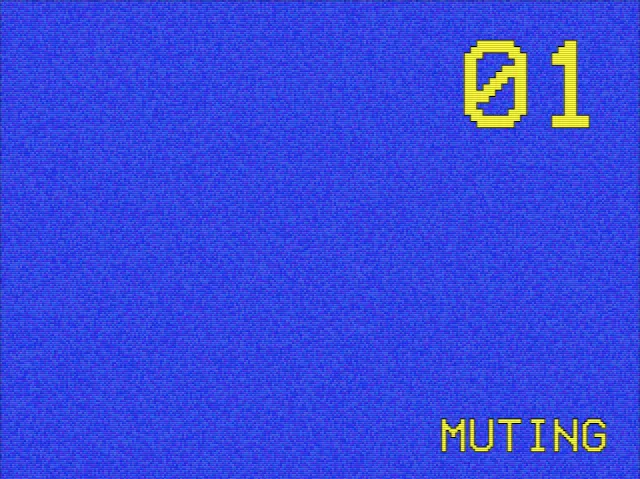
Tuner and Receiver: the look and feel of the on-screen displays can be skinned to look like a typical built-in TV tuner and a few different models of set top boxes. Colors can be customized and program information can be shown on-screen (if available). Volume controls and muting indicators get their own set of on-screen controls as well. You can mix and match tuner and receiver themes.
-
Headend: In the cable TV business, a headend is a facility where channels are received from different sources and combined into the channel lineup that’s transmitted to you. Television Simulator lets you define your own channels by number and to decide what content to put on each channel. Most of your configuration file will likely consist of channels and content.
What’s a YML file?
Section titled “What’s a YML file?”The TVS configuration file is written in the YAML language. It’s not a programming language but rather a way to represent data in a human-readable format. YAML is often used for configuration files because it’s easy to read and write. To make it even easier to read and write, you can use a program like Visual Studio Code (known as VS Code) to edit your config file. VS Code can highlight your YAML syntax and help you avoid mistakes.
Configuring Visual Studio Code
Section titled “Configuring Visual Studio Code”To configure VS Code for editing YAML files, you can install the YAML extension from the Visual Studio Code Marketplace. This extension provides features like syntax highlighting, autocompletion, and validation for YAML files, making it easier to work with your TVS configuration.
Automatic validation
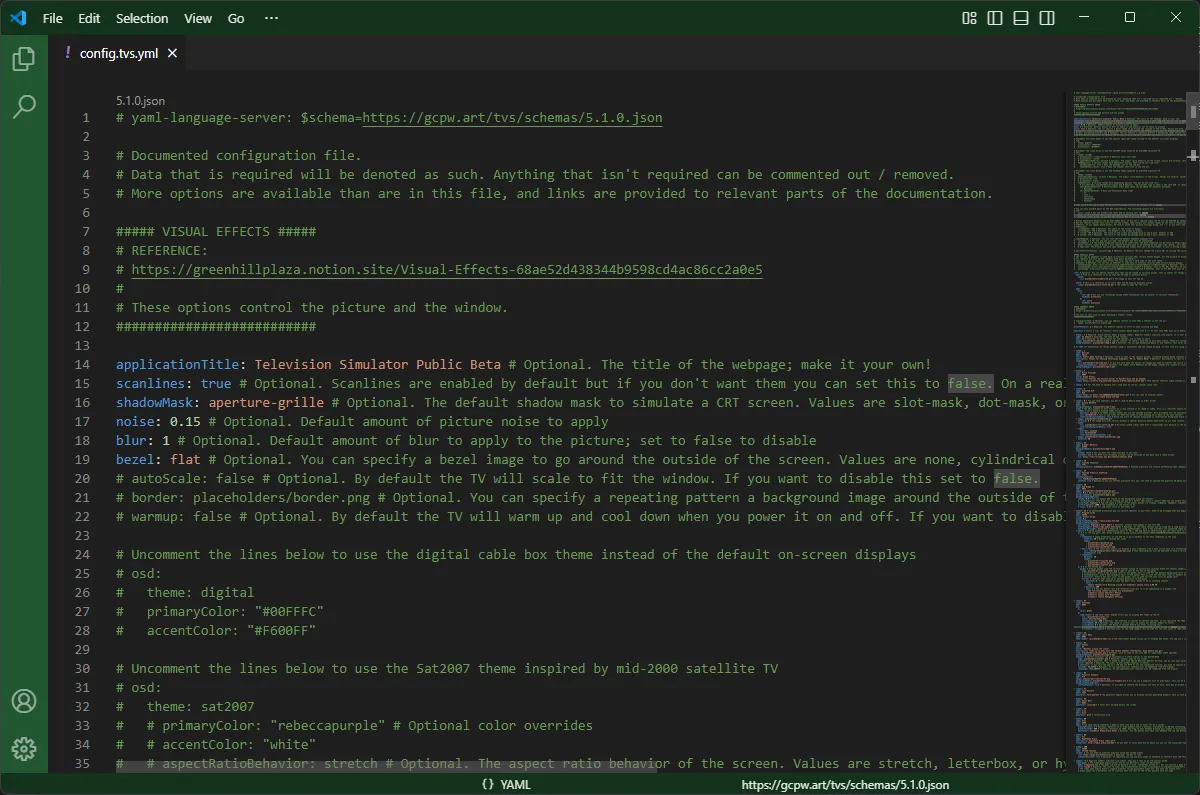
Section titled “Automatic validation”In Visual Studio Code you can validate your config file with the YAML extension installed by making sure that it begins with the following text which points VS Code to the TVS schema file:
# yaml-language-server: $schema=https://gcpw.art/tvs/schemas/5.1.0.jsonAs TVS evolves, the schema version may change. All previous schemas will remain available for backward compatibility.
Reading the example config
Section titled “Reading the example config”Television Simulator ships with an example configuration file (📄 config.tvs.yml) that showcases different features. More example configurations are available in the 📁 config-examples directory, and can be previewed by navigating to 🌎 /examples in TVS itself.
Channels and content tutorial
Section titled “Channels and content tutorial”Minimum example
Section titled “Minimum example”At a minimum, your configuration file must have at least one channel defined. Channels must have unique channel numbers. To learn more, backup your 📄 config.tvs.yml file and replace it with the following contents:
# yaml-language-server: $schema=https://gcpw.art/tvs/schemas/5.1.0.json
channels:
- number: 1
This configuration has a single channel, channel 1. It has no content so when you start TVS up with this config you’ll see nothing but static. The - number: 1 line begins defining the channel. Each channel will start with a line like this after the channels: block which starts the list.
We can make this a bit more interesting by adding some content to the channel. Channels can only have one top-level content item, but this isn’t as limiting as it sounds (we’ll get into that later). Add some content like this:
# yaml-language-server: $schema=https://gcpw.art/tvs/schemas/5.1.0.json
channels: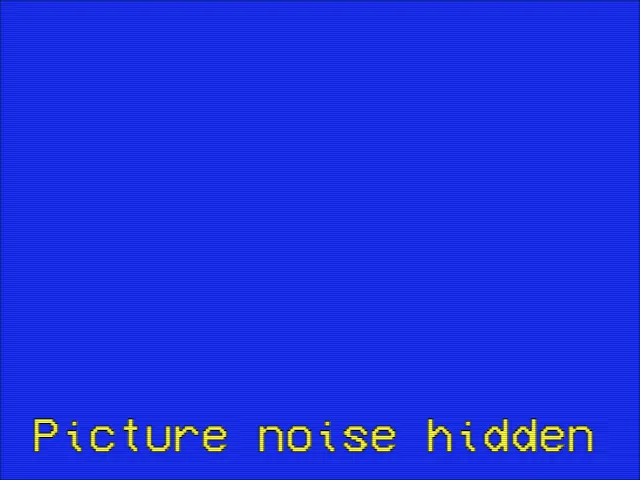
- number: 1 color: blueAll lines that are indented under the - number: 1 line are part of the channel’s definition. Here we’ve added the color content engine, which simply displays a solid background color.
Defaults
Section titled “Defaults”As you can see in the screenshot, we’re using a standard-definition picture with the default tuner and receiver themes which provide an old-school look. A bit of picture noise, scanlines and blur are also enabled by default. Say you’d prefer a more modern appearance, you can change the defaults in your configuration file (to change the defaults for everyone) or by using keyboard shortcuts (to change how it looks for your browser only). You may want to do this to find out how you’d prefer things to look, then set the defaults in your configuration file.
Picture controls
Section titled “Picture controls”Let’s try changing the way the simulated TV screen looks. With TVS running, press the keyboard shortcut
Similarly, if you use
In the Keyboard Shortcuts section you can find a full list of keyboard shortcuts and what they do.
Resetting the picture
Section titled “Resetting the picture”You can screw up the picture settings quite a bit, but don’t worry! You can always reset to the defaults (as defined in the config file) by pressing
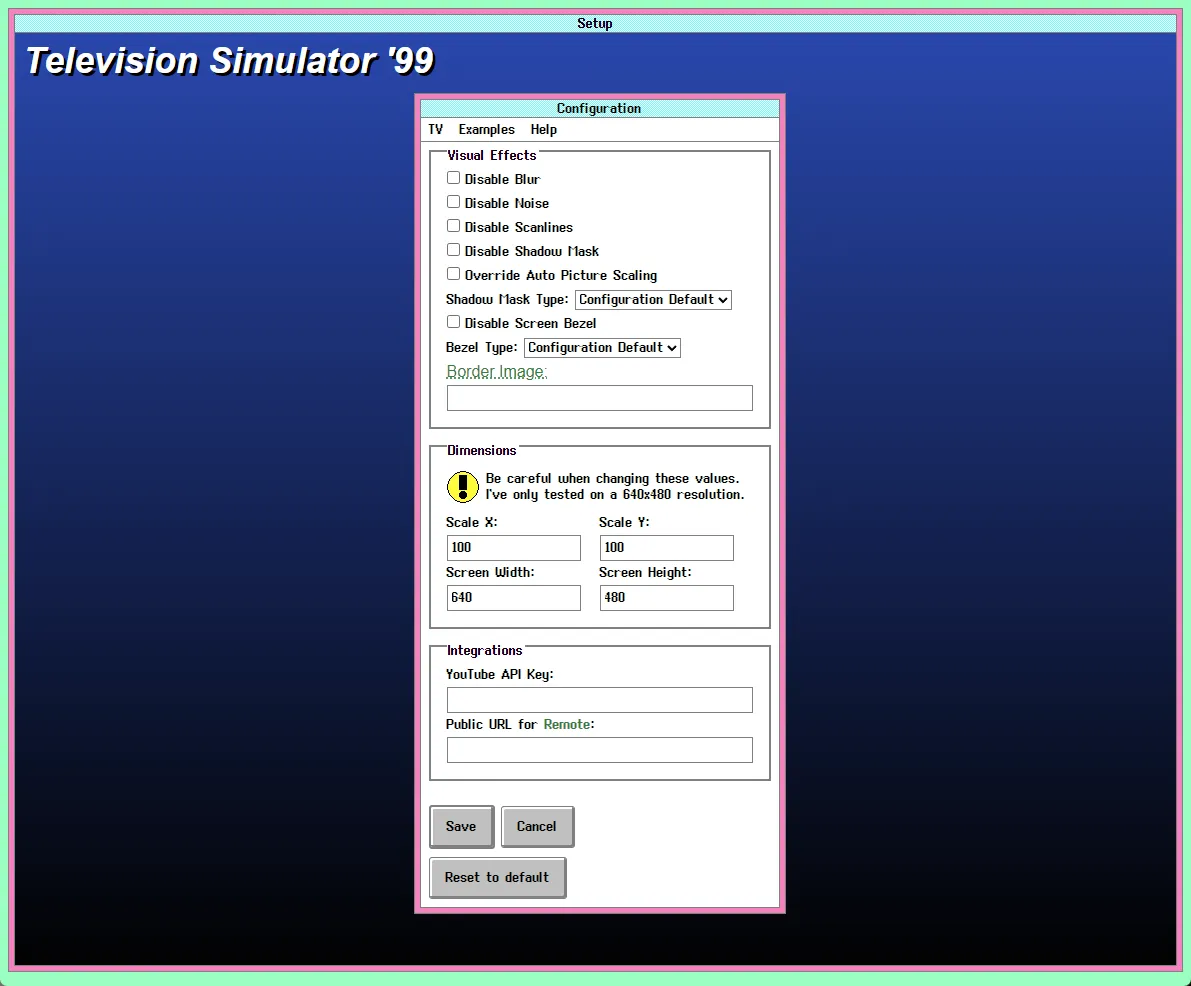
Graphical Setup
Section titled “Graphical Setup”Instead of using keyboard shortcuts you can also use the graphical setup interface. Press /setup (example). These settings are only changed for your browser, not for any other users.